How To Fix Peeling Clear Coat On Plastic Bumper
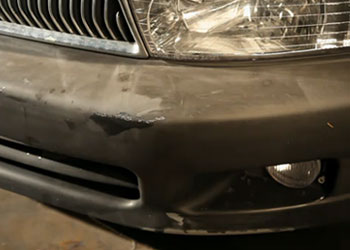
In this post I will show you how to spray paint a plastic bumper that was improperly painted by a local bodyshop. After paying hundreds of dollars to a bodyshop, you would think that the paint job would last. But it is not always the case. Not all bodyshops know what they are doing. Some of them just try to cut corners. As a result of improper repair process, the paint on the bumper of this Mitsubishi started to peel.
The only way to repair this damage, is to strip the old paint, apply plastic adhesion promoter, follow it with primer, touch up paint and clear coat. This project will take you just a few hours to complete. You can do it over the weekend. If the weather is nice, do it outside in a shade.
Doing it yourself will save you a lot of time and money. Bodyshops charge anywhere from $300-$500 for painting a bumper and you will be without a car for a few days. Since most of you don't have any experience, I've tried to make this tutorial as easy to follow as possible. You can watch the video first and then read my step-by-step instructions.
Items You'll Need:
I use high quality products that don't break the bank. Below are the products and tool that I personally use and recommend to all of my friends:
- Assorted Wet/Dry Sandpaper – Instead of buying pack of sandpaper of each grit, you can get this assorted sandpaper pack that includes 5 sheets (1 sheet each of 180, 320, 600, 1,000, and 1,500). That is all sandpaper you will need for this repair. Buying an assorted pack will save you money.
- Plastic Adhesion Promoter
– Not all primers tick well to plastic. This is a special clear primer that is used on plastic parts before primer application.
- Primer (aerosol spray) – For this repair gray primer works the best. The closer the color of the primer to the color of the paint, the less coasts of paint you will need to cover it.
- Touch Up Paint (aerosol spray) – You need to buy custom paint matching your car. Click on the link and select your color.
- Clear Coat (aerosol spray) – It gives car the shine and protects the paint. Without clear coat, paint will look dull.
- Gray Scuff Pad
– The gray scuff pad is "fine" and is used for light scuffing of a plastic bumper.
- Auto masking tape and Old Newspapers
- Prep solvent – It removes oils, road grease, dirt, car wax, and other surface contaminates and also improves adhesion to the surface.
- Meguiar's Ultimate Compound – I usually use rubbing compound to remove any imperfections from the clear coat. You can use any rubbing compound you like, just make sure it is clear coat safe. I've tested a lot of different products and it is the best car scratch remover on today's market. It's clear coat safe and inexpensive. You can use it for this repair and also in the future to remove clear coat scratches. Great investment.
Optional Items:
- Aerosol Spray Trigger
– I put this item under optional items, however I think it is a must-have when it comes to spray painting. It turns a spray aerosol can into a spray gun making it easier to apply the paint and clear coat.
- Microfiber cloth – Avoid using other material such as bath towel, paper towel or wash cloth, as they might leave scratches on the clear coat. You can use this microfiber towel later for washing and drying a car.
- Meguiar's Ultimate Polish
– To achieve the showroom shine, you need to use a polishing compound. I like Meguiar's Ultimate Polish because it high quality, inexpensive, long lasting, and clear coat safe.
- Meguiar's Tech Wax – Use your favorite wax. From different waxes that I've tried I like Meguiar's NXT Generation Tech Wax the best because it is long lasting, durable and easy to apply. It will protect the paint against UV damage.
- Dual Action Sander/Polisher
– I found a nice beginner polisher on Amazon for a reasonable price that will give you amazing results. There are a lot of professional polishers, but they cost over $150. This Black & Decker polisher got great customer reivews
. Detailing places on average charge about $100 for car polishing. The polisher will pay for itself in just one use.
- Respirator, Gloves
, Goggles
- Applicator Pads
– For applying rubbing compound, polish and wax.
- Tack Rag
Video Tutorial on How to Spray Paint a Car Bumper Yourself
Step 1: Getting Touch Up Paint
It is important to buy touch up paint that matches your car. Paint color code, located inside of your car, will help you with that. Sometimes, finding color code can be challenging even for the pro. That is one of the reasons I created a post on where to find paint color code.
Step 2: Personal Safety
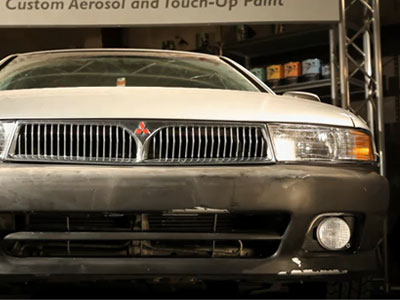
I do recommend spending a few dollars on gloves, goggles and mask for self protection. All these sprays are toxic and should be used in a well ventilated environment. If the weather is good, do it outside in the shade. Avoid doing repairs in full sun and windy conditions.
Step 3: Wash the Area
Start by washing the surface with warm water. I like to use few drops of dish soap to remove the dirt. Follow it with prep solvent to remove oils, dirt and wax. Dry it when you done.
Step 4: Tape off the area
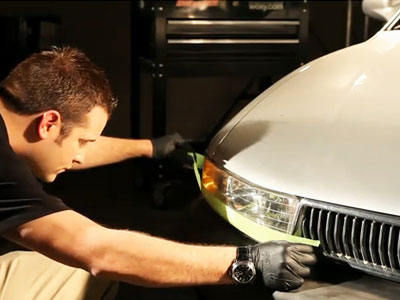
Tape off the adjacent panels and the lights to prevent damaging them. Use auto masking tape. It is very easy to remove and it costs only few dollars.
Step 5: Scuff Sanding
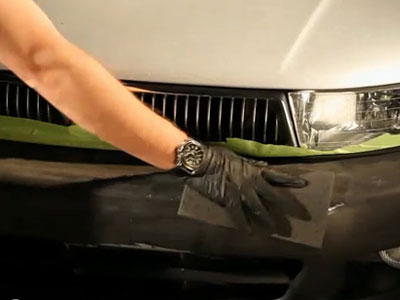
Remove as much of old peeling paint as you can by sanding it with 320 grit sandpaper. Clean the dust with tack rag. Next, sand the bumper with gray scuff pad to ensure good mechanical adhesion. Scuffing the bumper will make it easier for the primer to stick.
Step 6: Masking
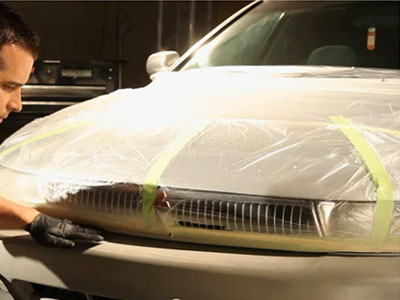
Mask the adjacent panels with auto masking tape and old newspapers or plastic. This will protect the rest of your car from overspray. Avoid using duck tape since it will leave a sticky residue that is very hard to remove.
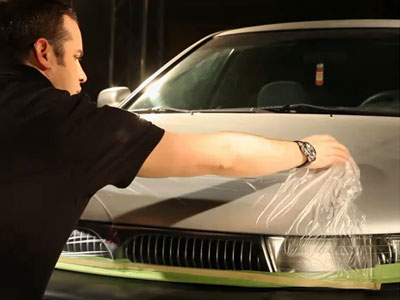
Step 7: Cleaning
Spray the are using prep solvent. Wipe it off with clean microfiber towel. Microfiber towel can also be used in the future for washing and drying the car. It will never leave any scratches on your clear coat. You can follow it with tack rag to get rid of the dust. The area should be clean before starting all the spraying.
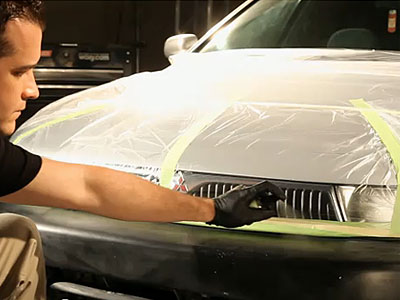
Step 5: Apply Plastic Adhesion Promoter
Next, spray it with Aerosol Plastic Adhesion Promoter. The promoter is a clear primer that is designed to be used over bare plastic, chrome, vinyl, galvanized metal, fiberglass, aluminum, and glass. It remains flexible and has better adhesion to plastic than regular primer. This step will help you make sure the primer and paint stick to the bumper.
Read the instructions on the can. Slide on the plastic trigger for better control. Shake the can. Hold it 15 inches away from the surface and spray in even strokes. 1-2 light coats is all the is needed.
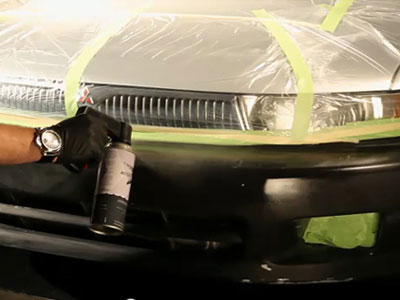
Step 6: Apply Primer
Apply gray primer next. Read instructions on the can. Use plastic trigger over the can for better control and coverage. Spray 3-4 coats leaving 15 min of drying time between coats.
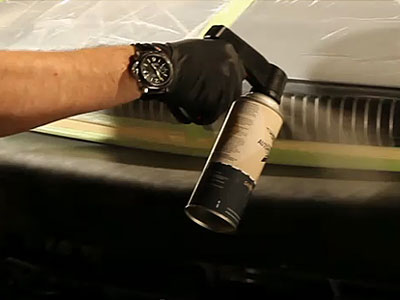
Step 7: Sanding Primer
Wait for 30 min before sanding primer. Lightly wet sand primer with wet/dry 600 grit sandpaper and follow it with 1,000 grit. This is a good time to remove primer overspray. In this video, they sprayed the whole panel, so there shouldn't be any overspray or border to feather out. Make sure the area is smooth.
Tip: Touch up paint will cover 600 grit sand scratches.
Step 8: Applying Touch Up Paint
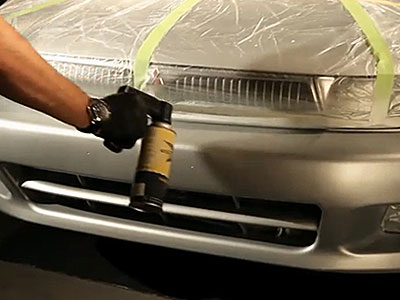
Read instructions. Shake the can. Use plastic trigger for better control. Test the touch up paint first to make sure the paint is matching. Hold the can 15 inches away from the surface and spray in even strokes. 3-4 coats should be enough to cover the primer. Give each coat 15 min drying time. If you see some dust, wipe it off with tack rag.
After your are done, the paint will look dull in comparison to the rest of the car. To bring out the shine, we'll need to apply a clear coat.
Step 9: Applying Clear Coat
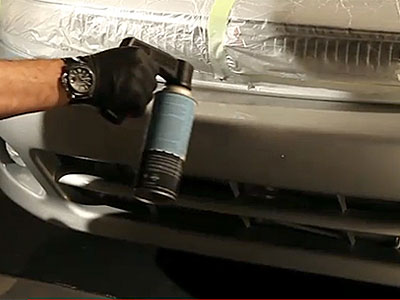
You are almost done. Wait for 30 min before applying clear coat. Read instructions first. Slide on the plastic trigger. Shake the can well. Apply clear coat in even strokes. 3-4 layers of clear should be enough. Give each coat 10-15 min drying time. Drying time may vary, depending on the product.
At this point, the surface should be glossy, but not dripping. If you notice dust, orange peel or other imperfections, you can fix them by sanding the clear coat with 1,500 grit sandpaper. Wait for one day before sanding. Use wet sanding instead of dry.
Step 10: Rubbing Compound
This step is not shown in the video, but can be very important in removing small imperfections in the clear coat. Rubbing compound is also used to remove small clear coat scratches after sanding. Wait for one day before using rubbing compound.
Step 11: Polishing Compound (optional)
To get that amazing show room shine, use polishing compound.
Step 12: Wax (optional)
Wait for one month before applying wax.
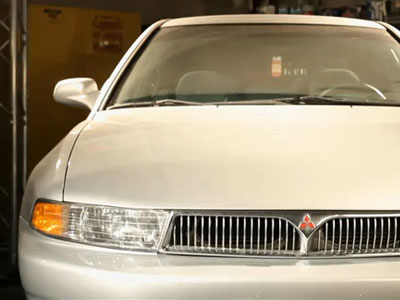
In the end, you should have a nice shiny bumper that matches the rest of the car. Let me know if you have any questions.
~Mike Davis
P.S. If you like this article, please help me promote it by clicking"Like"button below.
How To Fix Peeling Clear Coat On Plastic Bumper
Source: https://www.carpaintrepairinfo.com/spray-paint-car-bumper/
Posted by: stantonexpon1997.blogspot.com

0 Response to "How To Fix Peeling Clear Coat On Plastic Bumper"
Post a Comment